Multimedia messages
A multimedia message can contain a combination of text and video clips, or text, images
and sound clips, but not a combination of images and video clips.
Note: This function can be used only if it is supported by your network operator
or service provider. Only devices that offer compatible multimedia message or e-
mail features can receive and display multimedia messages. Devices that don’t
have these features may receive details of a link to a web page.
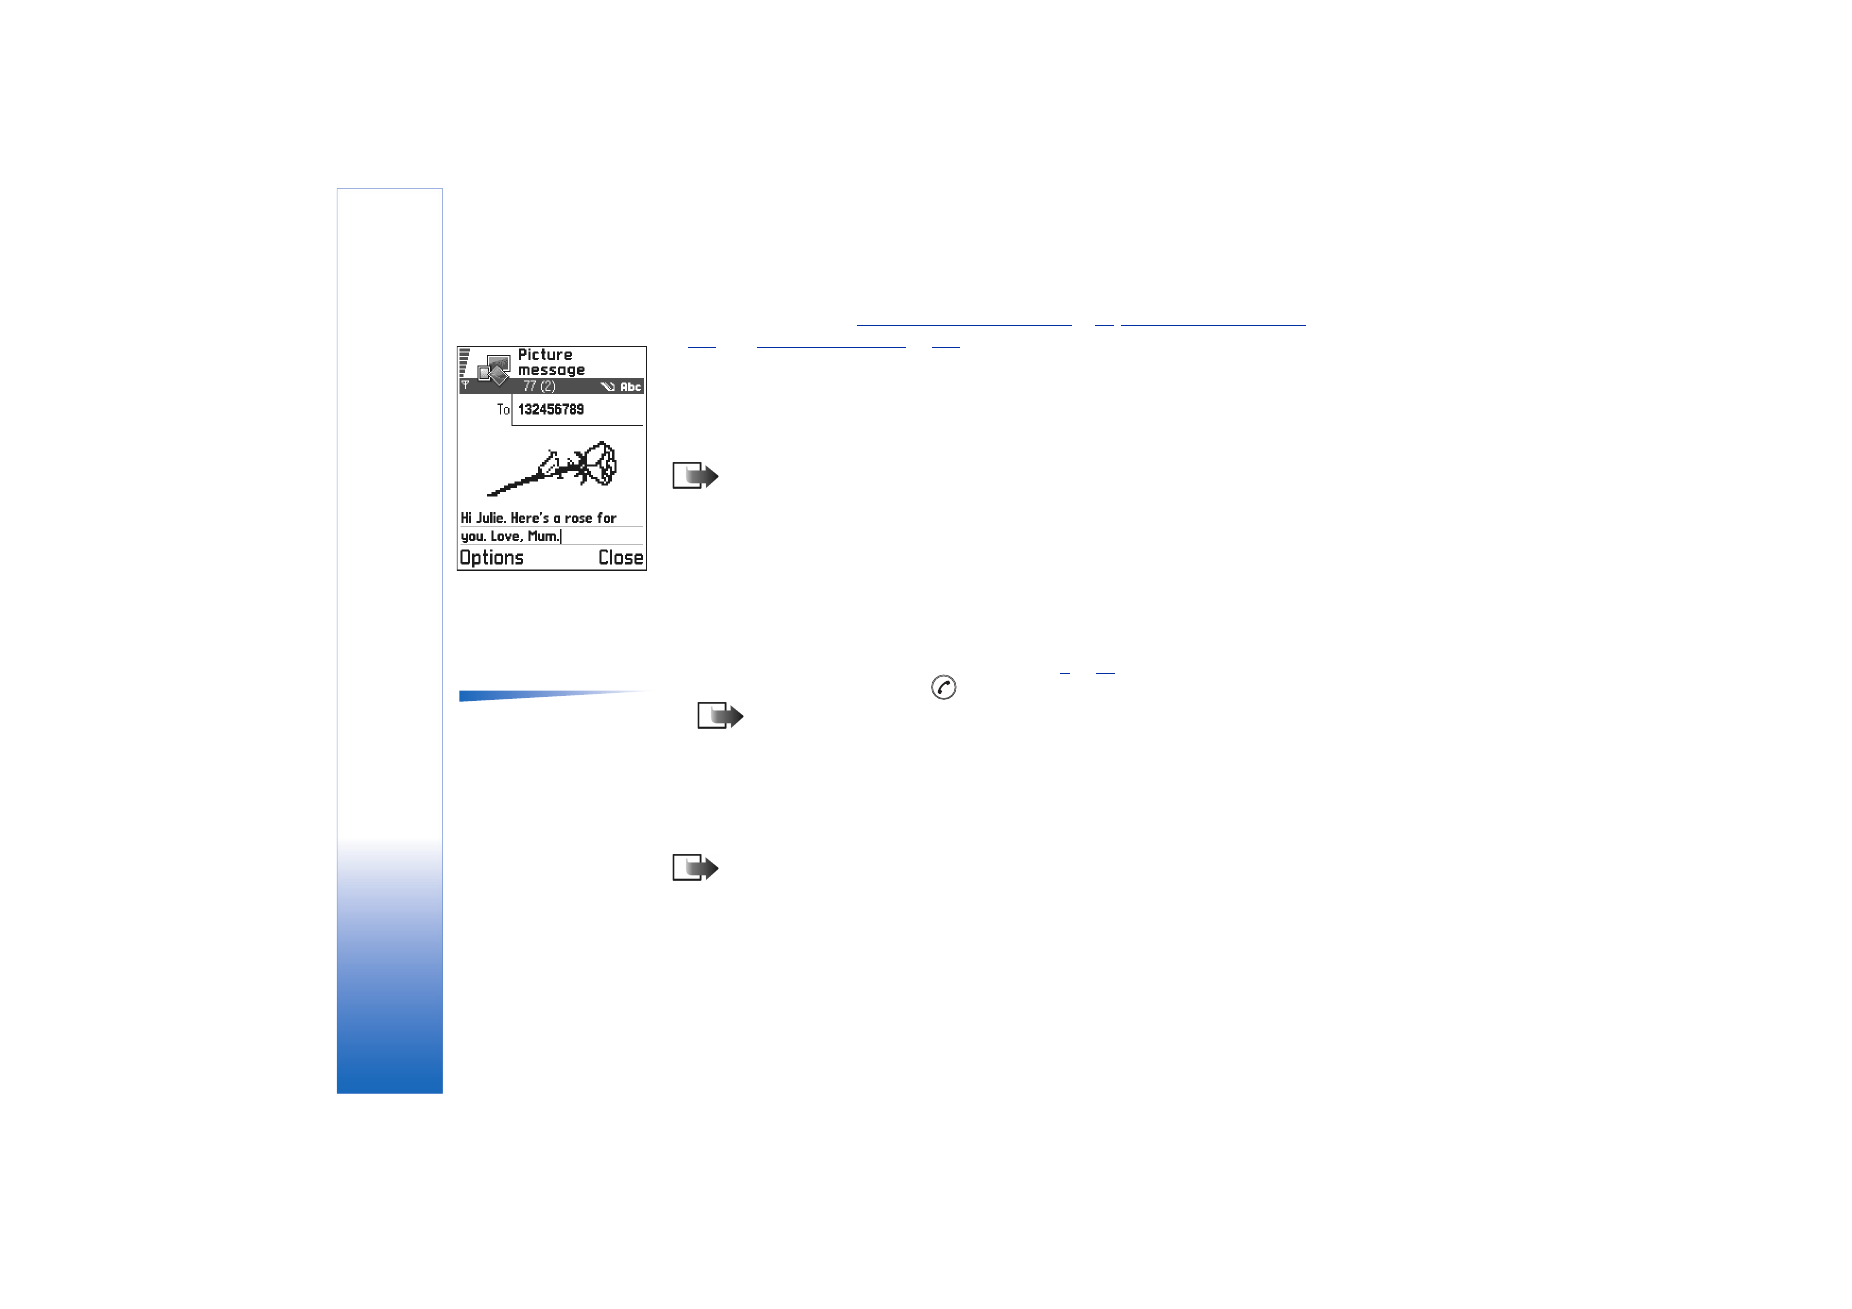
Fig. 3 Editing a picture
message.
Copyright © 2003 Nokia. All rights reserved.
Messaging
77
Settings needed for multimedia messaging
You may receive the settings as a smart message from your network operator or service
provider. See
‘Receiving smart messages’
, p.
83
.
Example: Domain
names such as
www.nokia.com can be
translated into IP
addresses like
192.100.124.195.
For availability of and subscription to data services, please contact your network operator
or service provider.
1 Go to
Menu
→
Tools
→
Settings
→
Connection settings
→
Access points
and define the
settings for a multimedia messaging access point:
Connection name
- Give a descriptive name for the connection.
Session mode
- Select a data connection type:
GSM data
,
High speed GSM
, or
GPRS
.
Options in the multimedia
message editor:
Send
,
Add
recipient
,
Insert
,
Preview
message
,
Objects
,
Remove
,
Delete
,
Message details
,
Sending options
,
Help
, and
Exit
.
Gateway IP address
- enter the address, see the example in the side of the page.
Homepage
- enter the address of the multimedia messaging centre.
• If you selected
GSM data
or
High speed GSM
, fill in:
Dial-up number
- a phone number
for the data call.
• If you selected
GPRS
, fill in:
Access point name
- the name given to you by your
service provider.
For further information on different data connections, see also
‘Connection’
, p.
31
.
2 Go to
Messaging
→
Options
→
Settings
→
Multimedia message
. Open
Preferred
connection
and select the access point you created to be used as the preferred
connection. See also
‘Settings for multimedia messages’
, p.
94
.
Setting up the memory in use
The memory in use defines whether the phone’s memory or the memory card are used as
default. To define the memory in use:
• Go to
Messaging
and select
Options
→
Settings
→
Other
→
Memory in use
and select
either the phone’s memory or the memory card, if one is used.
Creating multimedia messages
Note: When you are sending a multimedia message to any phone other than
Nokia 3650, Nokia 3660 or Nokia 7650, it is recommended to use a smaller image
Copyright © 2003 Nokia. All rights reserved.
Messaging
78
size and a sound clip that is no longer than 15 seconds. The default setting is
Image
size
:
Small
. If you want to check the image size setting, go to
Messaging
→
Options
→
Settings
→
Multimedia message
or select
Options
→
Sending options
when you are creating a multimedia message. When you are sending a multimedia
message to an e-mail address or another Nokia 3650, Nokia 3660 or a Nokia 7650,
if possible, use the larger image size (network dependent). To change the setting,
select
Options
→
Sending options
→
Image size
→
Large
when you are creating a
multimedia message.
1 In Messaging, select
New message
→
Create:
→
Multimedia message
and press
.
2 Press
to select the recipient(s) from the Contacts directory or write the phone
number or e-mail address of the recipient in the
To:
field. Add a semicolon (;) to
separate each recipient. Press
to move to the next field.
3 You can add the different objects of the multimedia message in any order you want.
• To add an image, select
Options
→
Insert
→
Image
or
New image
.
Tip! If you are sending a multimedia message to an e-mail address, it is
recommended to change the image size to bigger, select
Options
→
Sending
options
→
Image size
→
Large
. When sending a multimedia message to
another phone, use the default size
Small
.
• To add a sound, select
Options
→
Insert
→
Sound clip
or
New sound clip
. When sound
has been added, the
icon is shown in the navigation bar. See Fig.
4
, p.
79
.
Copyright © 2003 Nokia. All rights reserved.
Messaging
79
• To add video, select
Options
→
Insert
→
Video clip
.
• To write text, press
.
• If you select
Insert
→
Image
,
Sound clip
,
Video clip
, or
Template
, a list of items opens.
Scroll to the item you wish to add and press
Select
.
Note: If you chose
Image
, first you need to select whether the image is
stored in the phone’s memory or the memory card, if one is used.
• If you select
Insert
→
New image
, Camera opens and you can take a new picture.
Press
Remove
to remove the picture and take another instead.
• If you select
Insert
→
New sound clip
, Recorder opens and you can record a new
sound. The new photo or sound is automatically saved and a copy is inserted in the
message.
Note: A multimedia message can contain only one photo and one sound or
video clip.
4 To send the message, select
Options
→
Send
or press
.
Previewing a multimedia message
To see what the multimedia message will look like, select
Options
→
Preview message
.
Removing an object from a multimedia message
To remove a multimedia object, select
Options
→
Remove
→
Image
Video clip
or
Sound clip
.
Press
to remove text.
Working with different media objects
To see all the different media objects included in a multimedia message, open a
multimedia message and select
Options
→
Objects
to open the Objects view.
In the Objects view, you can change the order of the different objects, delete objects, or
open an object in a corresponding application.
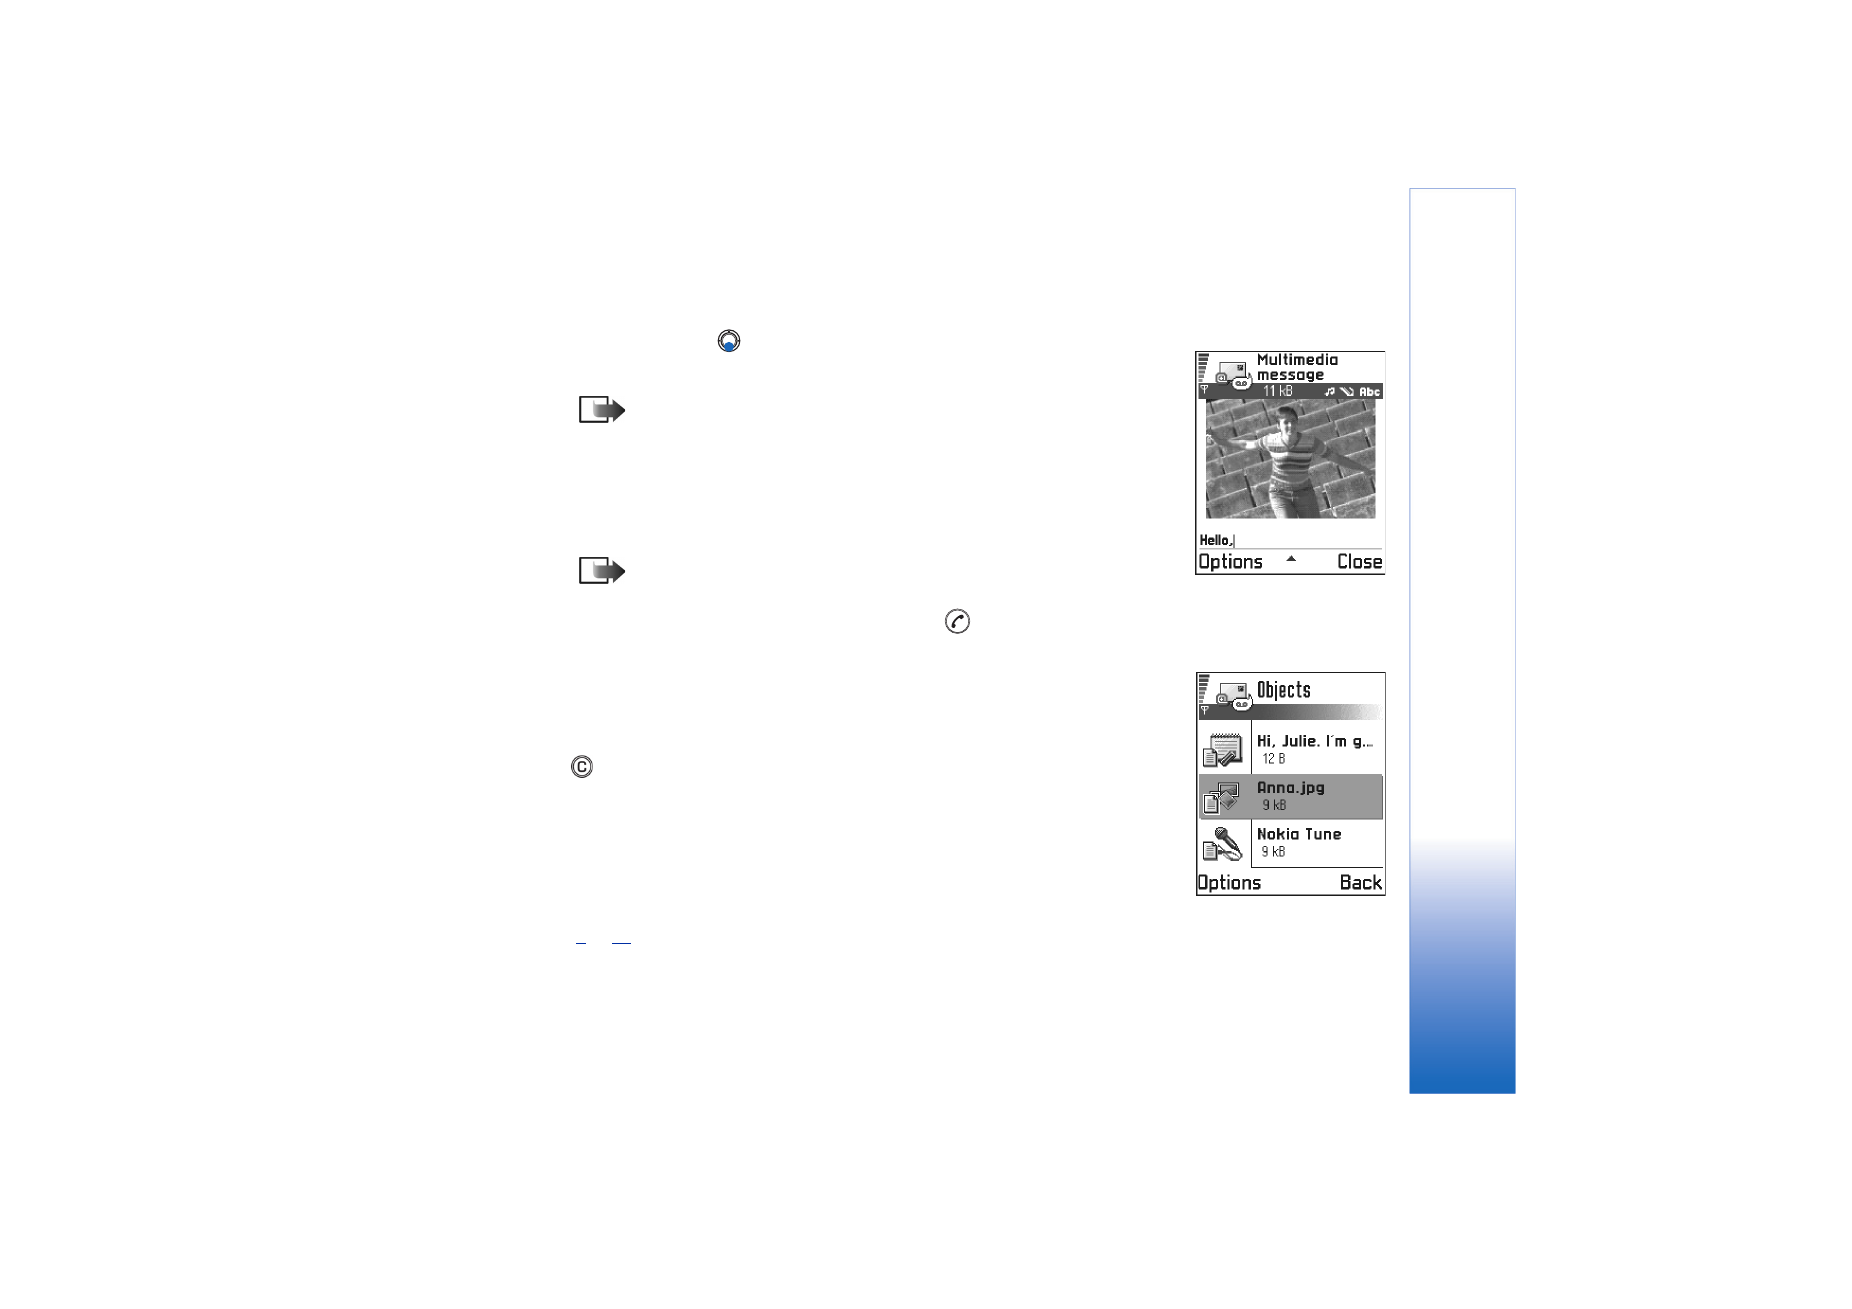
In Fig.
5
, p.
79
, you can see a list of different objects and their file sizes.
Fig. 4 Creating a
multimedia message
Fig. 5 Multimedia
objects view.
Copyright © 2003 Nokia. All rights reserved.
Messaging
80
Options in the Objects
view:
Open
,
Insert
,
Place
image first
/
Place text first
,
Remove
,
Help
, and
Exit
.